How to Connect Synup MCP with Claude
Synup MCP lets you manage your locations, reviews, rankings, citations, social media, and more through natural language conversations with AI. Once connected to Claude Code, you can type prompts like "Show me all reviews under 3 stars from last week" or "Post this update to Google Business Profile for all my locations" and Claude will act directly on your Synup data.
Claude Code is a terminal-based AI tool built for developers and power users who want to run automated workflows, build agents, or work with Synup data programmatically. If you're comfortable working in the terminal, this guide will get you set up in a few minutes.
Before You Begin
You will need:
- An active Synup account
- Your Synup API key (instructions below)
- Node.js and npm installed on your machine
- A Mac, Linux, or Windows machine with terminal access
How to Get Your Synup API Key
- Log in to your Synup account at app.synup.com
- Navigate to Settings in the left sidebar
- Click Integrations
- Copy your existing API key or generate a new one
- Keep it somewhere safe & treat it like a password and do not share it publicly
Connecting with Claude Desktop
You can connect directly through the Claude Desktop app without editing any config files. This is the recommended method for non-technical users and agency teams who don't work in the terminal.
You will need:
- Your Synup domain URL. This is the custom domain associated with your Synup workspace (for example, https://youragency.synup.com)
- Claude Desktop installed and open
Steps to Connect
- Open Claude Desktop
- Click your profile name or avatar in the bottom-left corner
- Go to Settings → Connectors
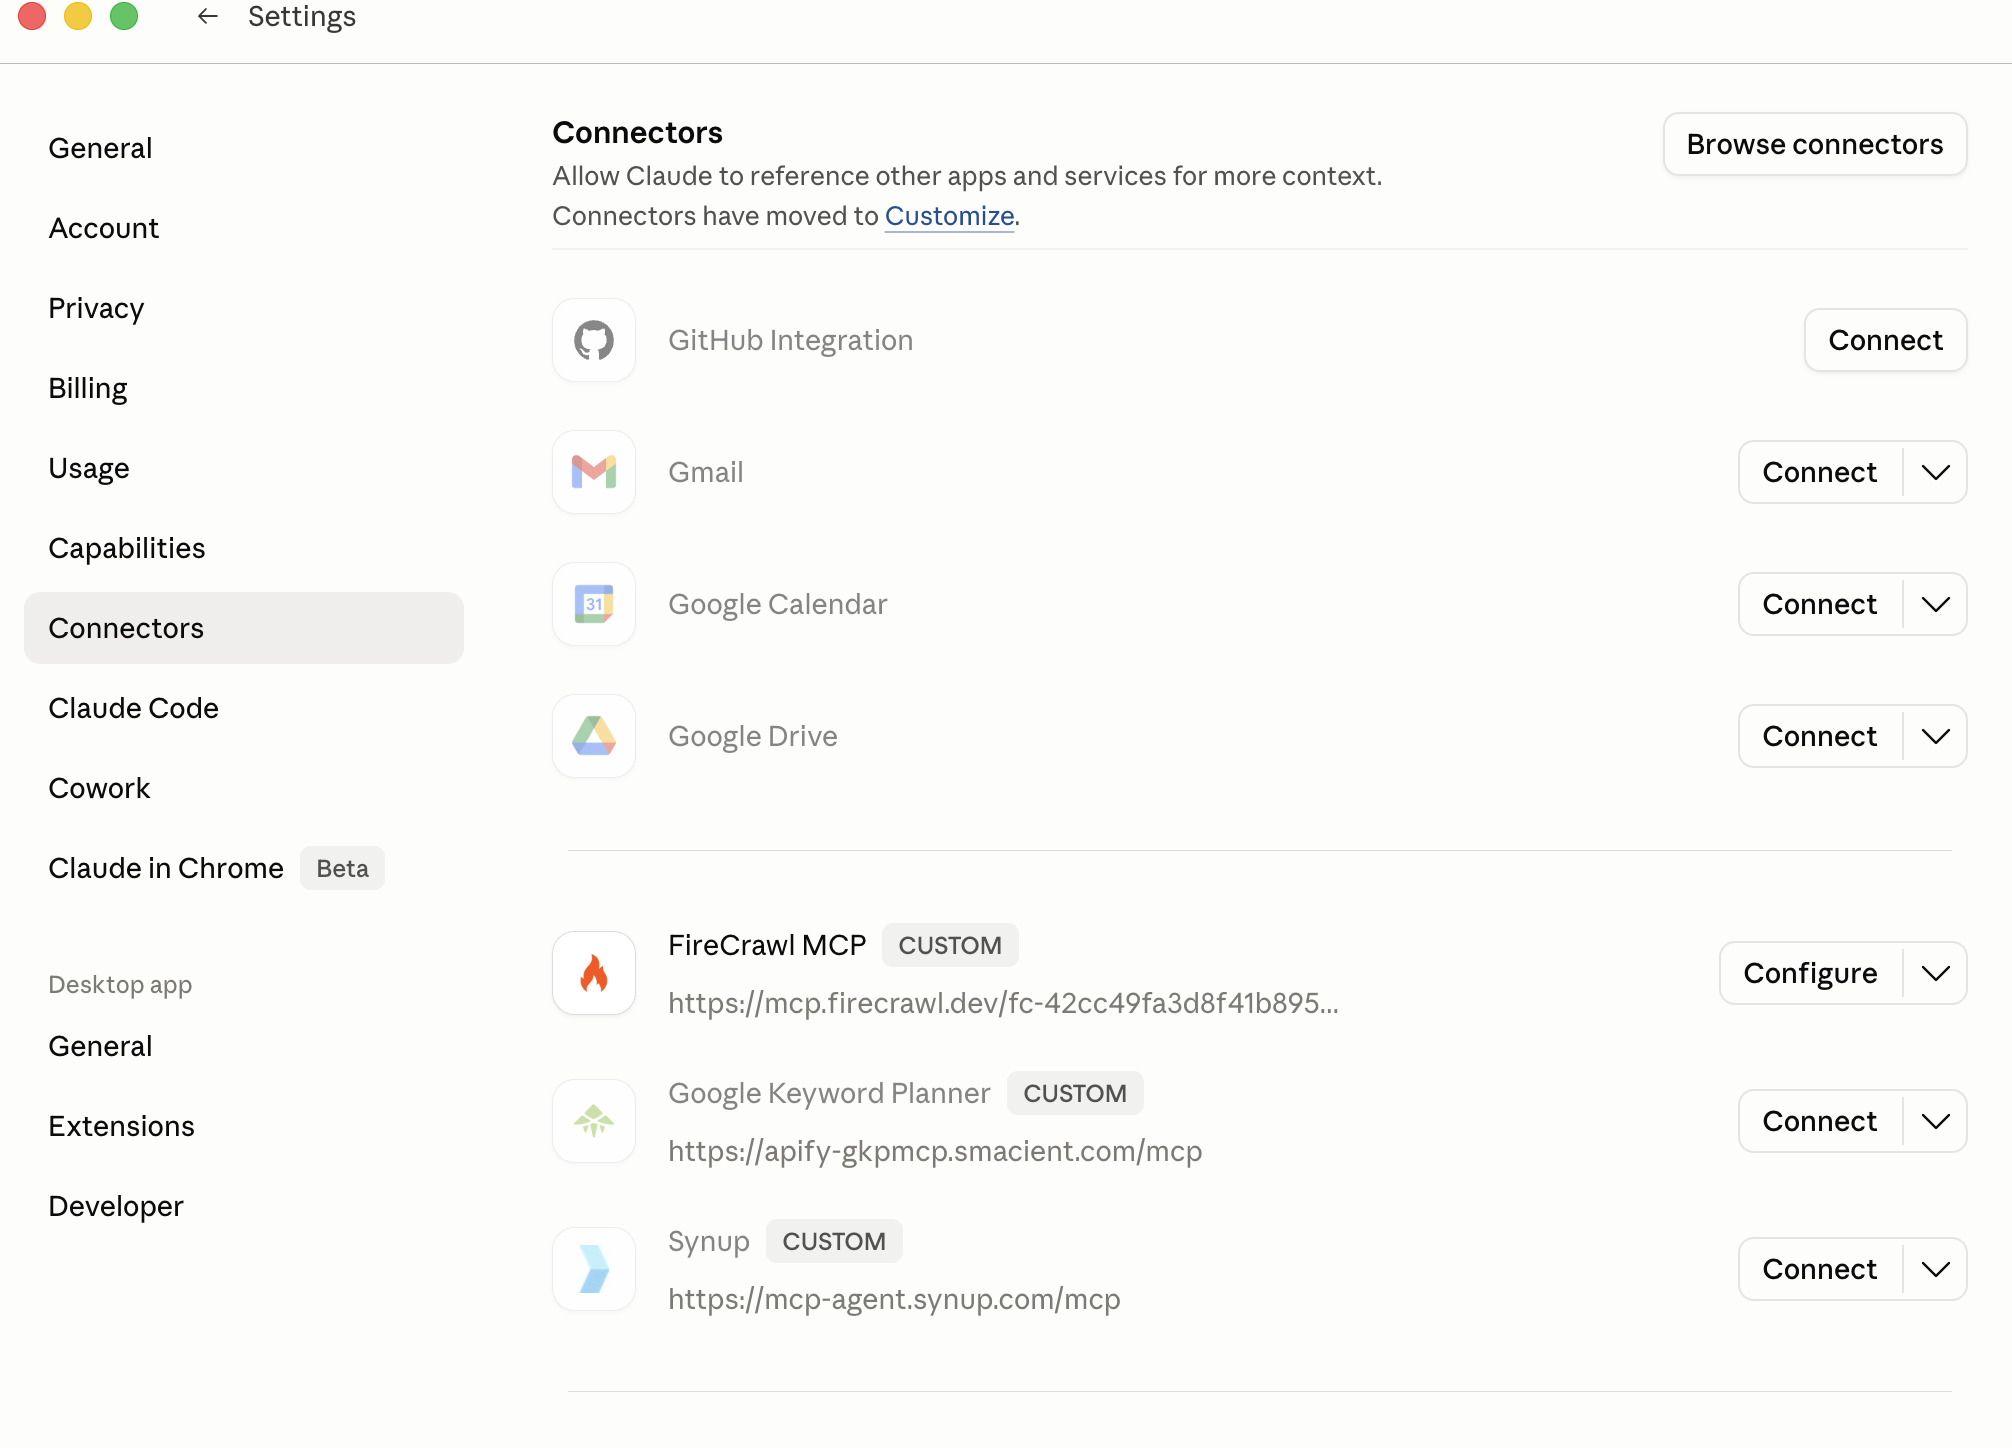
- Click Add custom connector
- In the URL field, enter your Synup MCP endpoint:
https://youragency.synup.com/mcp
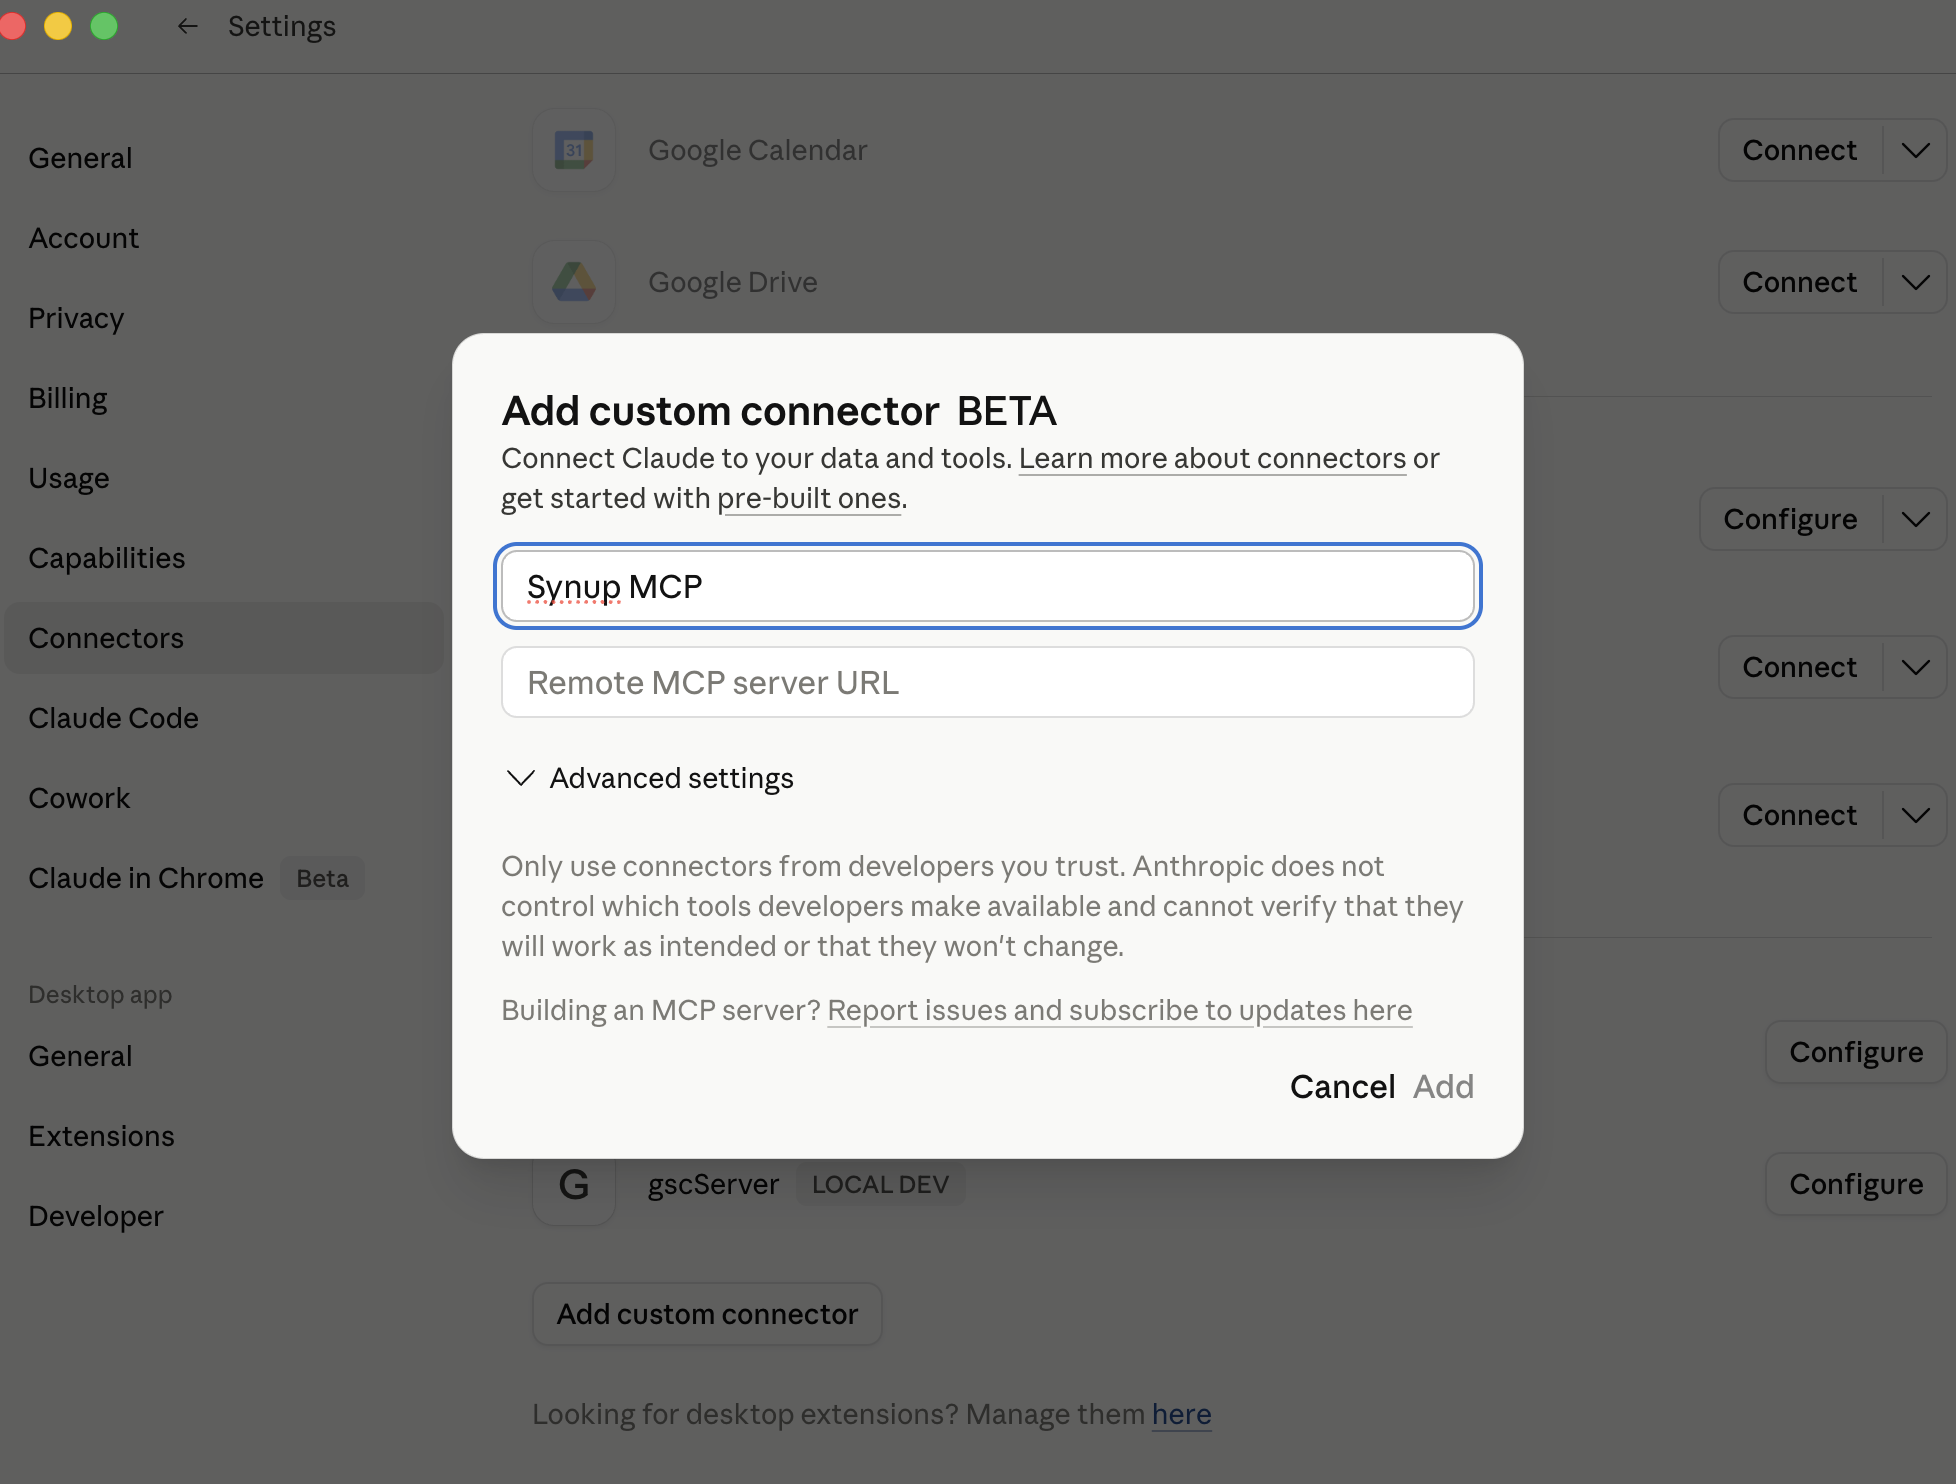
- Click Connect. Claude will open an OAuth authorization window
- Log in with your Synup credentials when prompted and approve the connection
- Once authorized, you'll be returned to Claude Desktop and the Synup connector will appear as active
Verify the Connection
Open a new chat in Claude Desktop and try one of these prompts to confirm everything is working:
Which Synup account am I connected to?
List my first 5 locations from Synup
If the connection is working, Claude will return your actual Synup account data.
Connecting with Claude CLI
Step 1: Fix npm Permissions (macOS Only)
If you are on macOS, you may run into a permissions error when installing npm packages globally. If you see an EACCES error, run this command first:
bash
sudo chown -R 501:20 "/Users/$(whoami)/.npm"
This will prompt you for your Mac password. You only need to run this once. Skip this step if you are on Windows or Linux, or if your npm is already working fine.
Step 2: Install Claude Code
Run the following command in your terminal to install Claude Code globally:
bash
npm install -g @anthropic-ai/claude-code
Once complete, verify the installation worked:
bash
claude --version
You should see a version number. If you see "command not found," your npm global bin directory may not be in your system PATH. Run npm config get prefix to find the location, then add /bin to your PATH variable.
Step 3: Add Synup MCP to Claude Code
Run the following command in your terminal, replacing YOUR_API_KEY with the key you copied from Synup Settings → Integrations:
bash
claude mcp add --transport http synup-mcp https://mcp-agent.synup.com/mcp \
--header "X-api-key: YOUR_API_KEY" \
--header "X-access-mode: write"
This registers Synup MCP with your Claude Code installation and saves the configuration to ~/.claude.json so it persists across all future sessions.
A note on access modes: The command above uses write mode, which gives Claude full read and write access to your Synup account, meaning it can respond to reviews, post to social media, and create campaigns on your behalf. If you want to explore or test first without making any changes, swap write for read in the command above.
Step 4: Start a Session and Verify the Connection
Open a new terminal window and start a Claude Code session:
bash
claude
Once inside the session, type:
/mcp
This displays the status of all connected MCP servers. You should see synup-mcp listed as connected. If it shows as connected, you are ready to go.
To confirm everything is working, try a simple test prompt:
Using Synup, list all my locations.
If it returns data from your Synup account, the connection is fully working.
Example Prompts to Get Started
Once connected, here are some prompts you can try in your Claude Code session:
- "Show me all reviews under 3 stars from the last 30 days"
- "Draft responses to all unanswered Google reviews from this week"
- "List all locations where the listing is incomplete or inconsistent"
- "Show me keyword ranking performance across all locations for the past month"
- "Create a review campaign for customers who purchased in the last 7 days"
- "Post this update to Google Business Profile for all locations: [your message]"
Troubleshooting & FAQs
My API key isn't working. Check that there are no extra spaces before or after the key in the command. The header format must be exact. If you're still having issues, go to Settings → Integrations in your Synup account, generate a new API key, and re-run the claude mcp add command with the new key.
The MCP server won't connect. Verify that the URL in your command is exactly https://mcp-agent.synup.com/mcp and that you opened a fresh terminal window after running the setup command. If it still fails, run claude mcp list to confirm the server was registered, then restart your terminal completely.
I get "command not found" when I type claude. Your npm global bin directory is not in your PATH. Run npm config get prefix to find where npm installs global packages, then add that path followed by /bin to your shell's PATH. On macOS with zsh, you would add this line to your ~/.zshrc file: export PATH="$(npm config get prefix)/bin:$PATH" and then run source ~/.zshrc.
The /mcp command doesn't work. Make sure you are typing /mcp inside an active Claude Code session — that means after you have run claude in your terminal and are inside the chat interface. The /mcp command will not work in your regular terminal prompt.
Queries return empty results. Confirm your locations exist by running get_all_locations via a prompt. If you have a large number of locations, only the first 50 are returned by default — ask Claude to fetch the next page using pagination.
Queries are timing out. For accounts with 100 or more locations, large queries can time out if you are requesting too much data at once. Try narrowing the date range to 7 days instead of 90, or filtering by a specific location rather than pulling all locations simultaneously.
I want to switch from write mode to read mode (or vice versa). Remove the existing server and re-add it with the access mode you want:
bash
claude mcp remove synup-mcp
claude mcp add --transport http synup-mcp https://mcp-agent.synup.com/mcp \
--header "X-api-key: YOUR_API_KEY" \
--header "X-access-mode: read"
Authentication fails every time I reconnect. Restart your terminal application completely rather than just closing the Claude Code session. Config changes sometimes require a full terminal restart to take effect.