How to add an activity to OS
Whether you’re scheduling meetings, assigning tasks, or syncing calendars, Synup OS makes it easy to manage everything from a single place. In this section, you’ll learn how to create, assign, and track activities so you and your team never miss a client update.
1. Create a New Activity or Task
Getting started with task management begins by creating activities. Synup OS streamlines this process:
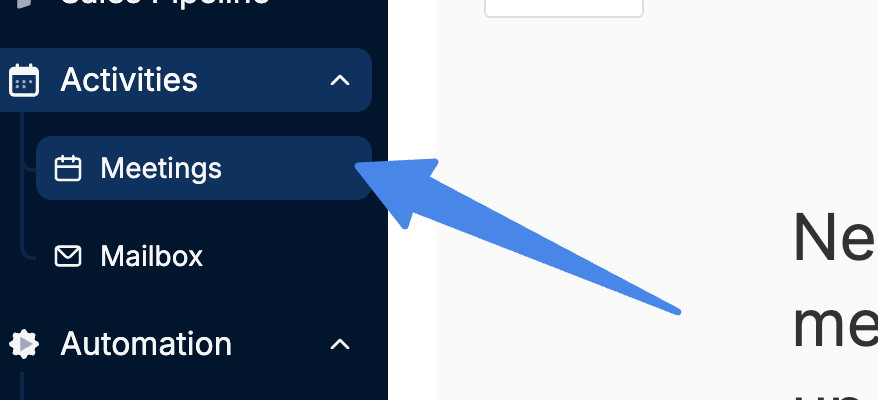
Navigate to your Synup OS dashboard and open the Meetings tab under the Activities section. Here, you’ll see all your ongoing meetings and activities displayed on the calendar.
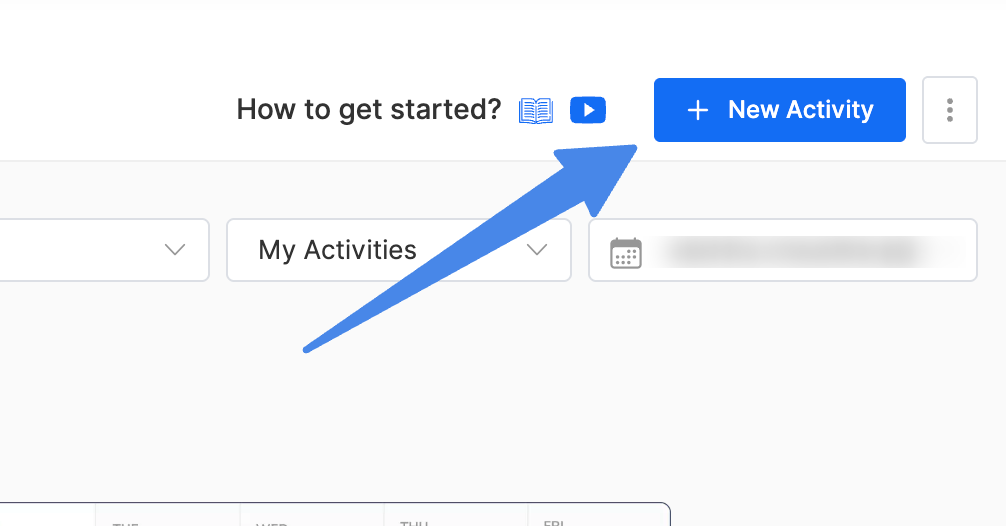
Click the New Activity button in the top-right corner.
2. Specify the Type of Activity
Select the type of activity you want to add:
Task: Assign a specific responsibility to a team member.
Call/Meeting: Schedule a call or meeting, add attendees, meeting notes, and location details.
Other: Log any other type of activity to help your team prioritize.
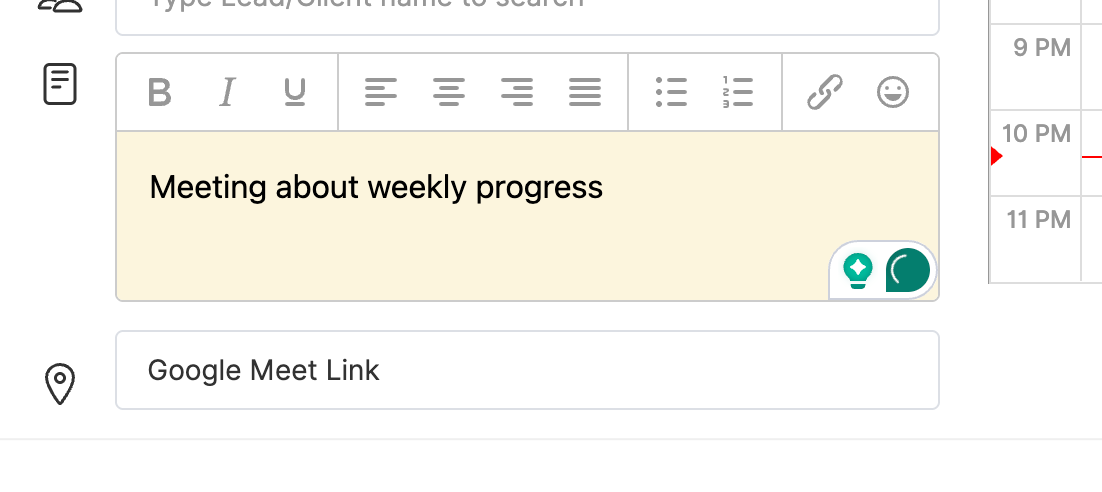
Add all the relevant details to the activity like Name, description, schedule, etc.
3. Assign Activities/Add Attendees
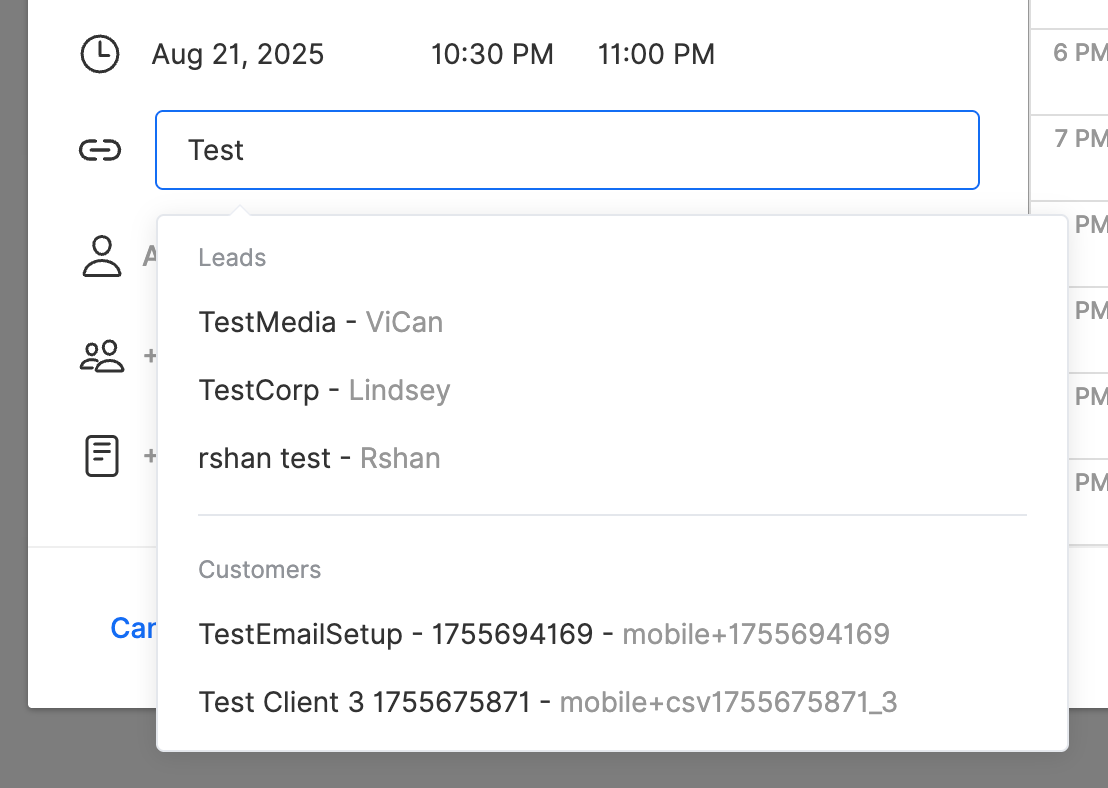
After creating the activity, assign it to the right team member and link it to the relevant client/lead.
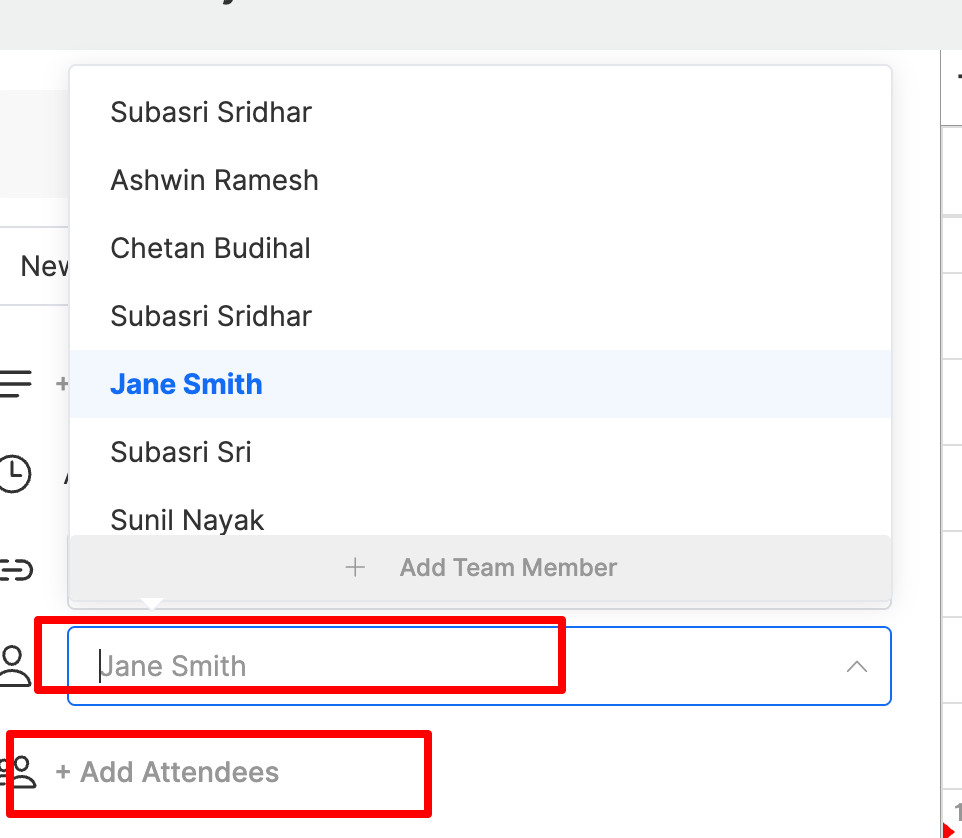
You can also assign the activity to a specific team member or add attendees to a meeting (your client or lead)
Next, you can include campaign notes relevant to the activity or meeting and also add a meeting location.
This ensures all information stays connected and organized, reducing confusion later.
Please note: You can only link those clients to a meeting/activity who are already added to your OS client dashboard. Learn how to add a client to OS.
How to add an activity to OS
Last updated April 29, 2026 · 2 min read

Was this article helpful?