Account Owners and users with Admin permissions can invite a group of multiple users at once from their dashboard, via CSV upload.
To invite multiple users to your workspace
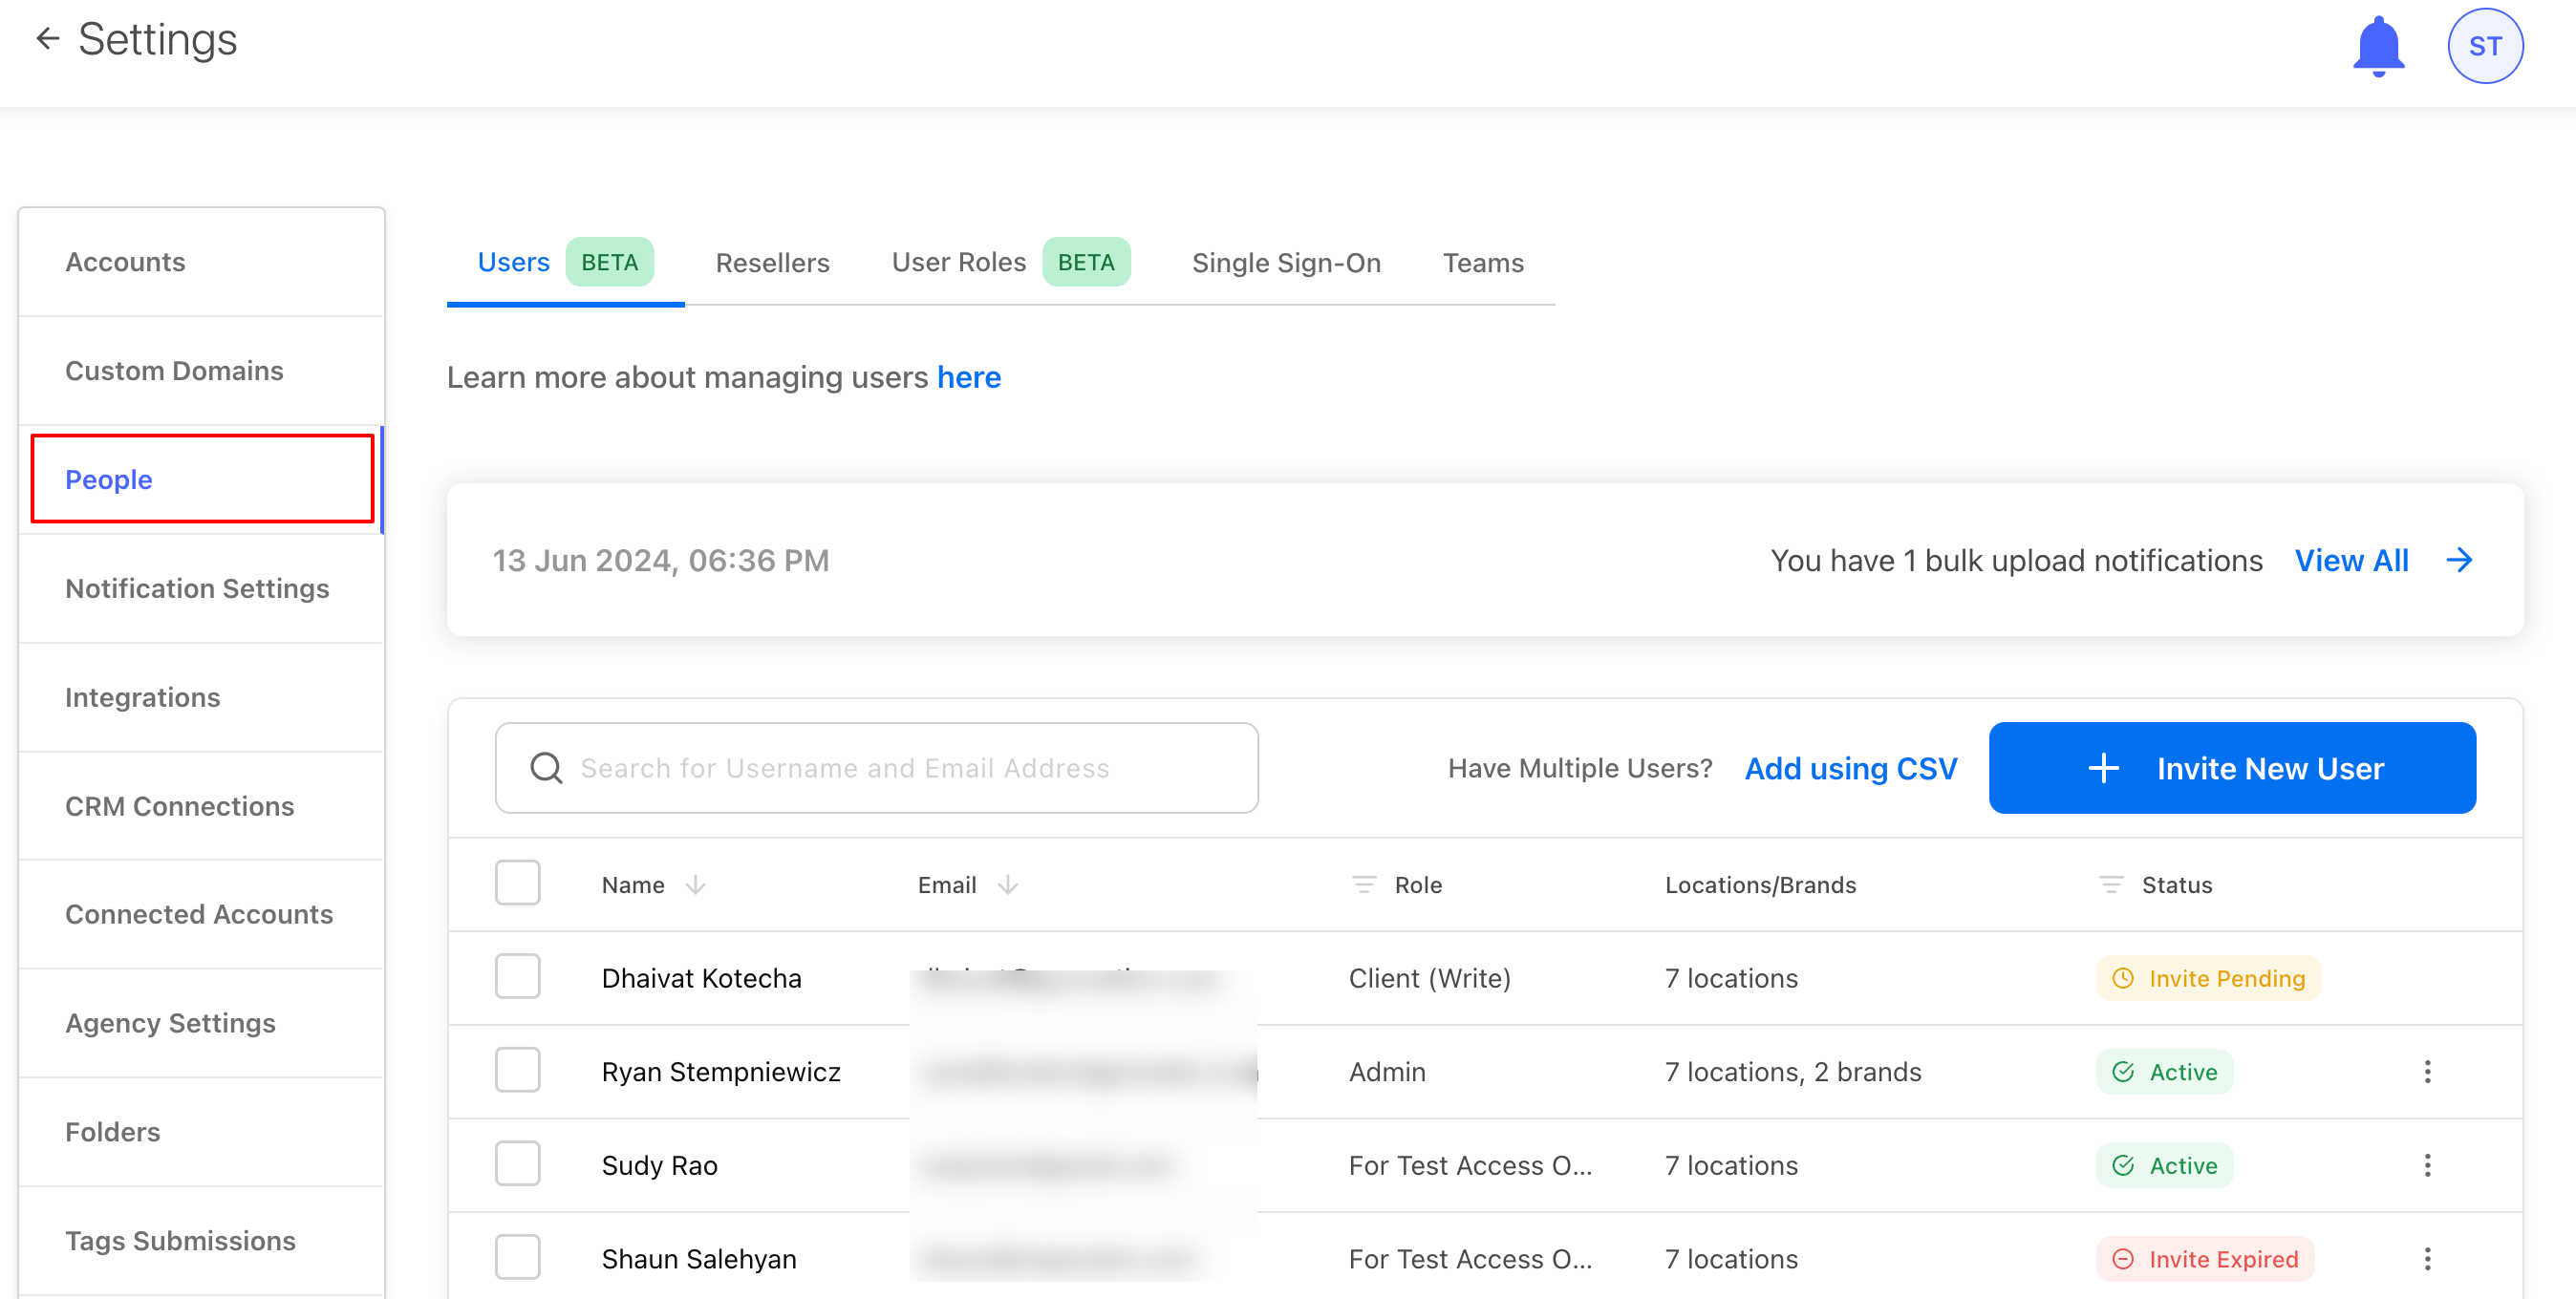
Access Account Settings in the overhead navigation bar and click Settings from the drop-down menu. Then select People.
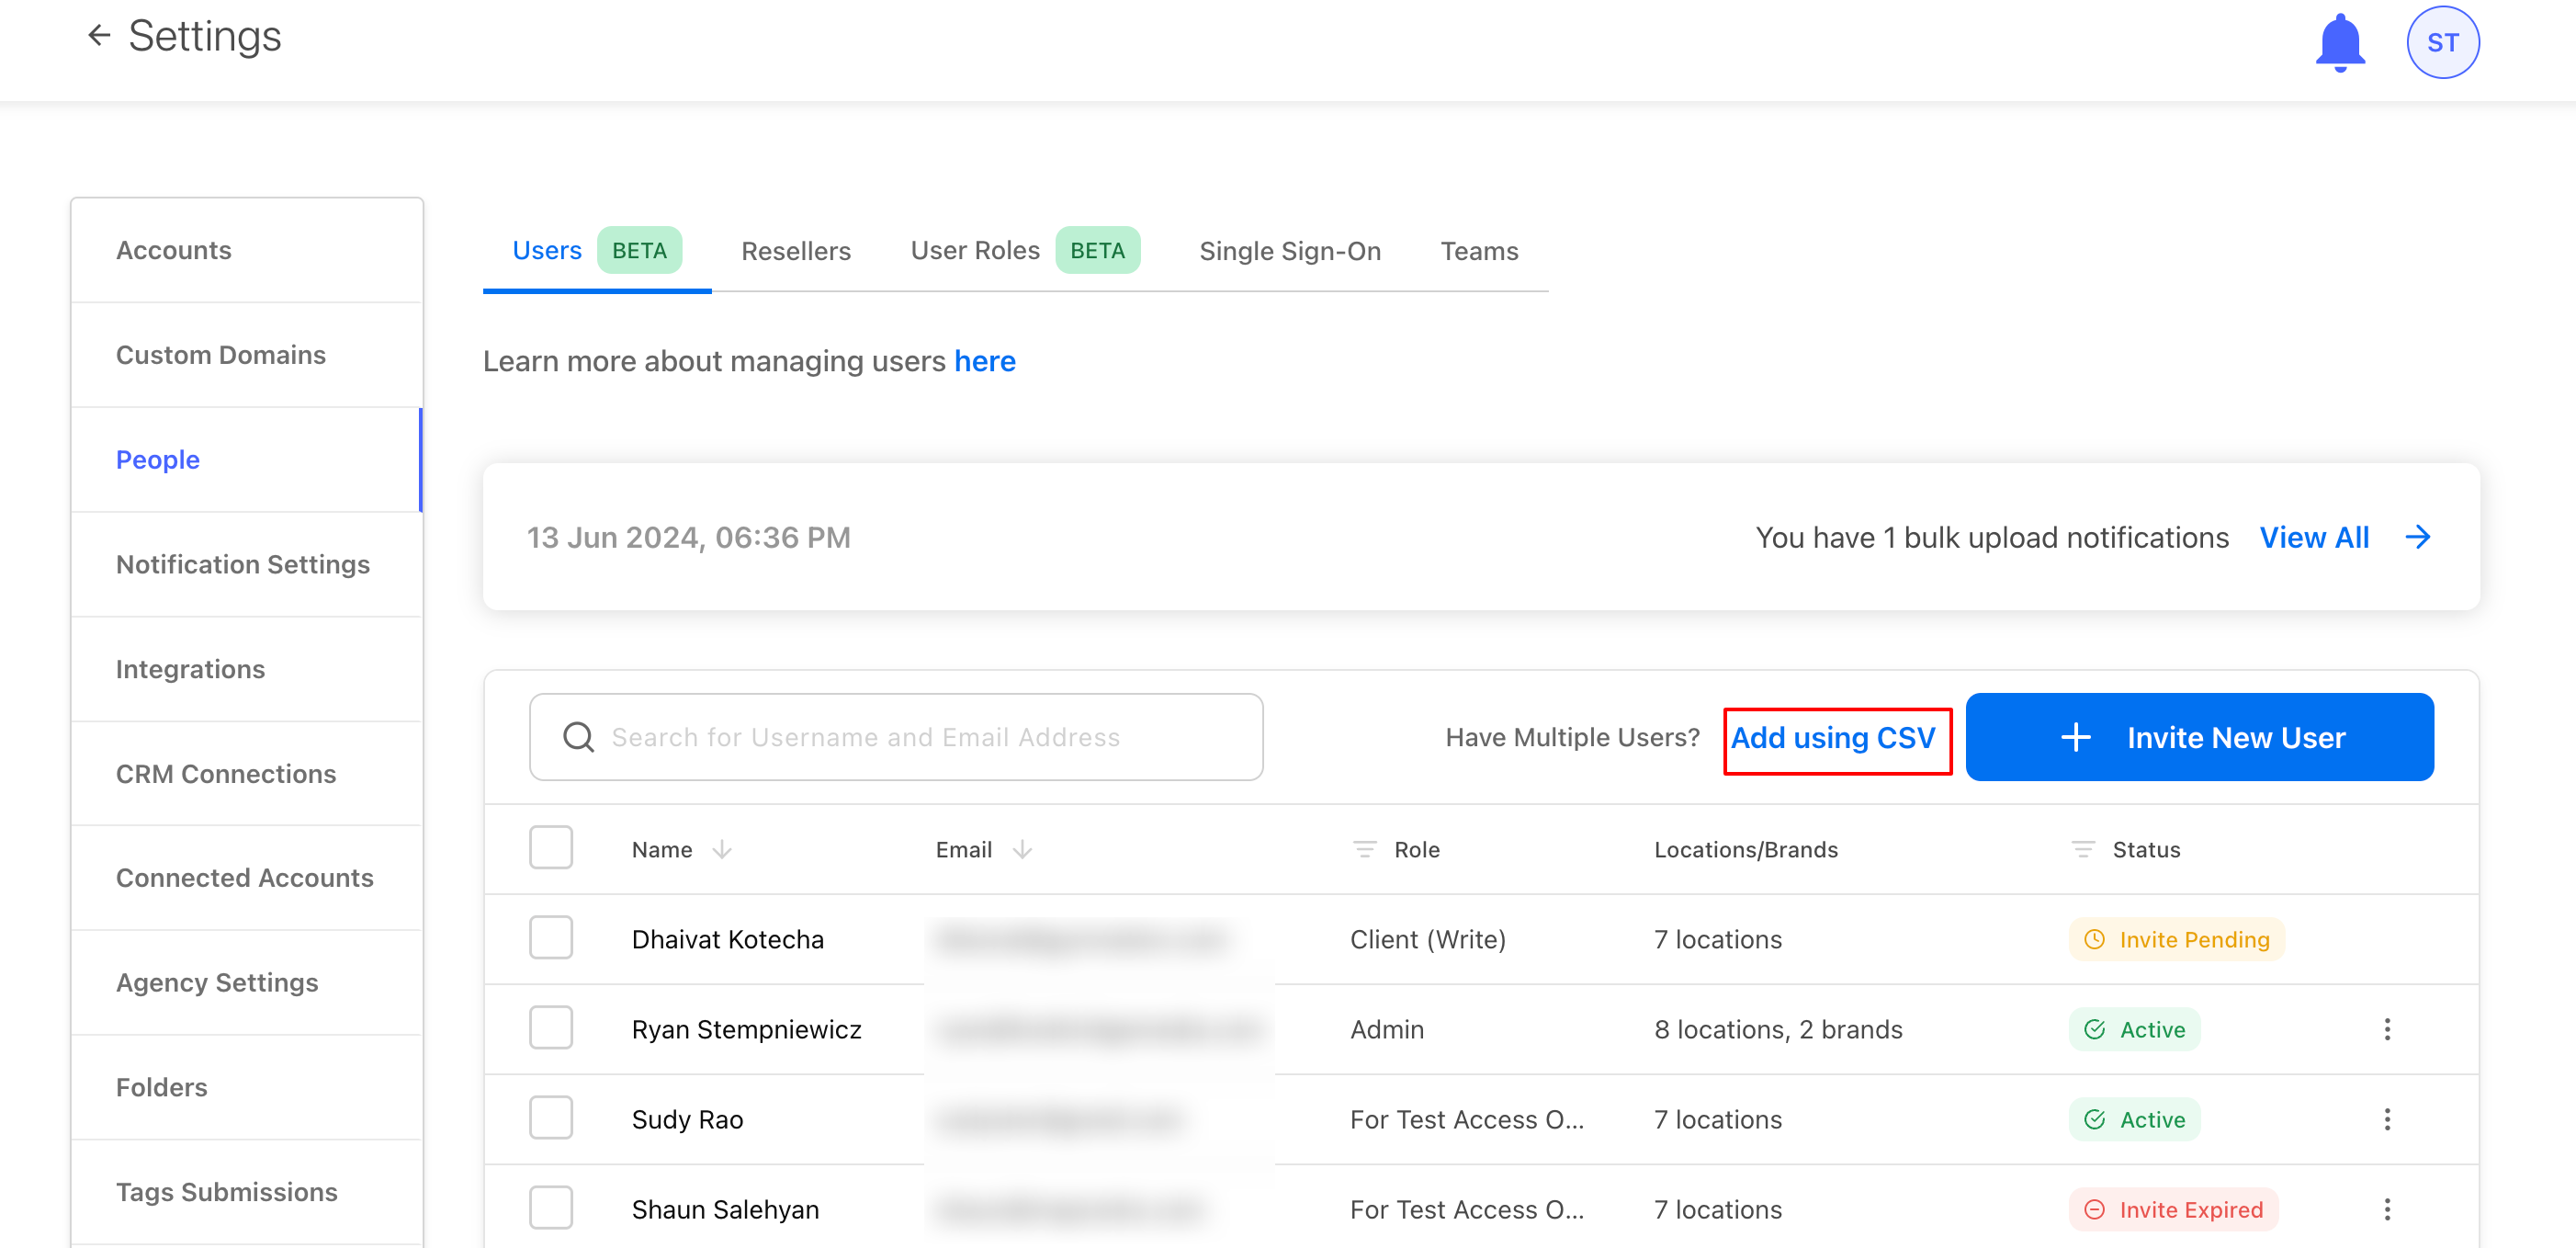
Then under the users’ section, to invite multiple users, click Add using CSV.
In the window that opens you can upload the CSV file for bulk upload of users.
-
Download the CSV Template Provided - Open this download file using a spreadsheet program like Microsoft Excel or Google Sheets.
-
Edit User Data - Ensure that the data fields you edit follow our CSV format guidelines. Refer to the Data Fields section for more information.
-
Upload CSV File - Your CSV file upload is processed for data validation. Once validated, your data is uploaded to your dashboard.
Note: This process may take up to 15 minutes. Please ensure valid data input and format to avoid errors.
Data fields in your .csv file
The CSV file template contains all supported data attributes arranged in a row at the top. Fill your User information into the relevant fields in the spreadsheet.
All Required Fields are mandatory. Missing out any of these fields in your CSV file results in upload errors.
- First_name - First Name of the User. Example: Shayne
- Last_name - Last Name of the User. Example: M (as initials) or Joanes (as a name).
- Email - A valid email of the User to be invited, which should contain an '@' and a '.' .Example: sj@synup.com
- Is the client - Specify if the User invited is a client of your business. Valid inputs: yes/no.
- Role - client(Write) - Specify if the client user requires a write/edit access to the dashboard. Valid inputs: yes/no
- Role-admin - Specify if the User invited is an admin within the account. Valid inputs: yes/no.
- Role-manager - Specify if the User invited is a manager within the account. Valid inputs: yes/no.
-
Role-client(Write) - Specify if the client user requires just read-only access to the dashboard. Valid inputs: yes/no
- Assign Location - Specify the location the user should have access
- Assign Brand - Specify the location the user should have access